Administration / User Management

 save.
save.
 refresh screen.
 show disabled users, or
 hide disabled users.
Search users - searches the user name field
Right click menu options
Cell Editor - edit the cell contents.
Show Roles - display which roles the user has.
Reset Password - reset the user password, not applicable for SSO and Cloud Customers.
Update Profile Picture - Add a profile picture to the user.
Add User to Cloud - add the user to Cloud for authentication and authorization.
Insert - Create a new user.
Remove - remove the selected user.
last Login Date
Displays when the user last logged in.
User Creation
- Scroll to bottom of user listing.
- Right click in the white space after the list of users.
- Click Insert.
-
Enter the relevant details for:
Username - enter as per Cloud username. Must be 15 characters or less.
Display Name - enter an alias, usually its the users first name and surname, for exmaple John Doe.
Email - Enter users email address as defined in Cloud.
Disabled - tick to disable a user.
2FA Method - 2 factor authentication method, used for Cloud customers for an added level of security when accessing Zobrio Budgeting and Reporting. Choose from Authy (Application) or email to receive verification codes.
Country Code - used in conjunction with the moble phone number and Authy App.
Mobile - enter the users mobile phone number, this is used for the Authy App to send verification codes.
SSO - tick to indicate that the user will be using Single Sign On.
Valid Cloud User - a tick will display if the user has been correctly setup for Cloud.
-
Click
to save.
Now that the user is created,
- Assign users to relevant roles, this makes applying permissions easier. Or, they will automatically inherit previously setup access.
- Permissions need to be assigned, if they have not been assigned to a role.
User Maintenance
Edit users details
- Click into the cell, make the change.
- Hit <enter> on your keyboard to "commit" the change.
- Click to save.
Delete a User
A user cannot be deleted if:
- They have at least 20 user parameters (USER_PARAMS table) which shows they are a user which has been logged in before.
- They are over a month old.
To delete a user:
- Right click on the user name.
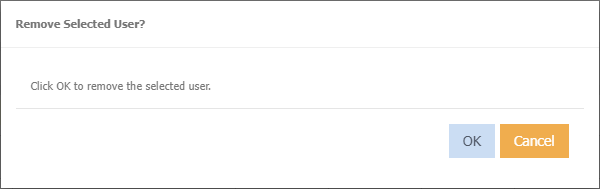
- Click Remove.
-
Click Ok on the below message.
-
Click
to save.
Disabling a user
- Tick 'Disabled' next to users name.
- The user will become disabled.
- Right click context menu has limited options available.
Import Users
This process is typically done at the initial setup time.
Note
- Users that are not included in the spreadsheet will be disabled.
- New users will be added.
- Click
 to download the export user listing as a template of how the users need to be created.
Once this spreadsheet is filled out.
to download the export user listing as a template of how the users need to be created.
Once this spreadsheet is filled out. - Add new users, delete old users to the spreadsheet and save.
- Click
 to import your new users.
 - Select your saved spreadsheet.
- Click Validate Data
- If you want to disable all existing users that are not in the spreadsheet then tick disable users not in import file
- Click Ok
Export User listing
Download a list of all users.
- Select
- Click Download
- Excel will open automatically displaying list of users.
Add a Profile Picture
- Right click next to users name
-
Choose Update Profile Picture
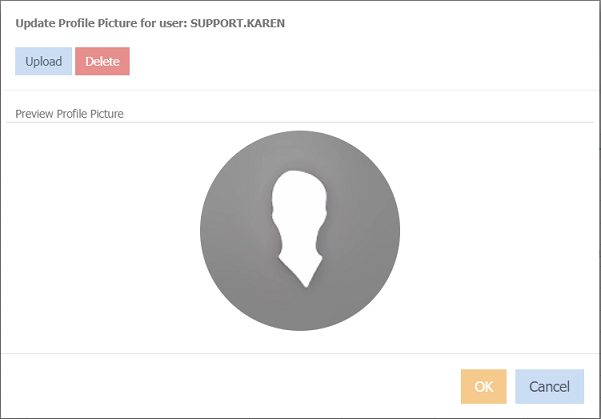
-
Click Upload
- Navigate to where your photo/image is.
- Click OK
Remove a Profile Picture
- Right click next to the users name
- Choose Update Profile Picture
- Click Delete
- Click Ok on the prompt of "Are you sure want to delete the profile picture".